Fun with lens flare
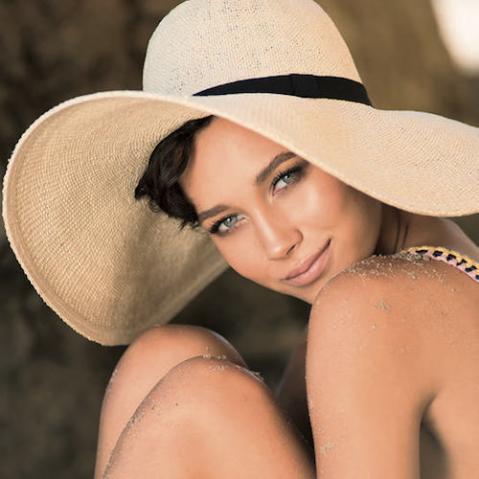
A photography effect that can happen by mistake but is a great technique to understand and implement when you want it is lens flare. The sun’s rays shooting through the frame and enveloping the shot’s subjects can be so evocative, and contrary to what many people believe, isn’t down to Photoshop trickery. It’s done in-camera. But before you go anywhere near lens flare, please remember to be careful of your eyes when photographing straight into the sun.

Lenses for lens flare
Some lenses flare more easily than others, and some produce better flare than others. It’s something that you’ll have to experiment with to find the look that works for you from the kit that you have. A Google search can be a good starting point, but do test out your lenses in the same conditions with the same subjects within minutes of one another. Although you may not see the difference through the lens, you will see the difference in the results.

Settings for lens flare
You’re more likely to see defined lens flare in your images if you shoot with a smaller aperture. For prominent flare, try ƒ/13; for less defined flare, have a go with an aperture of ƒ/5.6. If you shoot at ƒ/1.8, you will likely still see the flare, but it will show up as a haze, rather than as rays of light, across your frame.
Subject framing for lens flare
After you have chosen your lens and adjusted your camera settings, you need to frame the subject. The flare that you will get in your frame is affected by the angle of your lens relative to the sun, as well as the angle of the light relative to your subject. It is really easy to overdo the amount of light coming into the frame and completely blow your shot. Play around with it, moving around the light and around your subject. Flare will often work best if the sun is wrapping around your subject or another object. Flare also works well when it enters the shot from the edge of the frame; you can achieve some beautiful rays of sun shooting across your image even when you aren’t shooting directly into the sun. Once you have set up your subject, shoot a dozen frames so that you have different flare patterns to choose from.

A final tip
If you don’t shoot in Manual mode, that the camera will want to underexpose your subject because of the amount of light entering the frame. That will work if you are going for a silhouette effect, but if you want detail then it will be important to shoot in Manual or use exposure compensation when shooting into the sun.
Stuffy, staged wedding photos are a thing of the past. Master modern wedding reportage and capture the true spirit of the event and the personalities of the couple and guests with Michelle Turner’s The Wedding Photography Field Guide. Get the latest information on digital gear, and a professional’s insight into the best techniques for covering the action. Whether you simply want to get great photos at a wedding you’re attending, if you’re breaking into the business, or you just want to refresh your approach, this book is full of useful advice making it essential reading for any wedding photographer today.
[one_whole boxed=”true”]
 The Wedding Photography Field Guide, by Michelle Turner
£4.99 Download the PDF now!
This PDF version retains the styling of the original print book.
RRP for print edition: £8.99
[button color=”Accent-Color” size=”small” url=”https://www.ilexinstant.com/product/the-wedding-photography-field-guide/” text=”Digital Edition”] [button color=”Accent-Color” size=”small” url=”http://www.amazon.co.uk/dp/1907579257?tag=ilexpresscom-21&camp=1406&creative=6394&linkCode=as1&creativeASIN=1907579257&adid=0ZT80GTQQ6YXSJ81ZSX2&&ref-refURL=http%3A%2F%2Fwww.ilexinstant.com%2Fproduct%2Fthe-wedding-photography-field-guide%2F” text=”Amazon UK (Print)”]
[button color=”Accent-Color” size=”small” url=”http://www.amazon.com/The-Wedding-Photography-Field-Guide/dp/0240817877/ref=as_li_qf_sp_asin_til?tag=ilexinst-20&linkCode=w00&linkId=&creativeASIN=0240817877″ text=”Amazon USA (Print)”]
[/one_whole]


