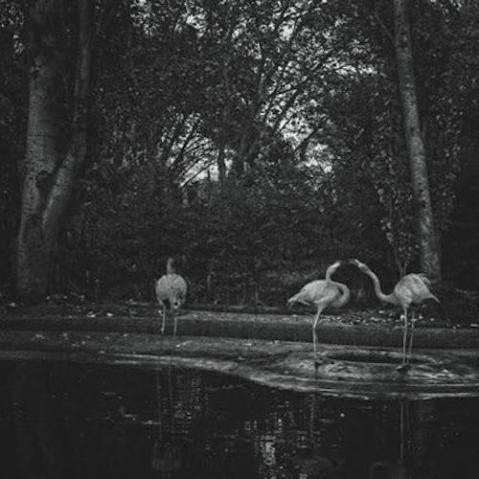
Capturing memorable landscapes with your iPhone
Ansel Adams said, “Landscape photography is the supreme test of the photographer—and often the supreme disappointment.” You can create gorgeous vistas of land and sea with your iPhone, but be warned: Straying into boring territory is far too easy in this category, especially since you don’t have the luxuries of long exposures, tripods, aperture settings, or other traditional photography tools. While app-enabled editing can make up for some of these deficiencies, you should make sure you know your stuff when it comes to composition. Otherwise, that view that was so perfect in person will be rendered forgettable by your camera shutter.
Composing your landscape
When thinking about composition, remember that your landscape will include many, many subjects large and small and of varying sizes, shapes and colors. And many factors, such as lighting and distances, will be out of your immediate control.

Before you begin shooting, hold up your lens and take a full inventory of the objects in the frame. Where are the lines and curves in your landscape? What colors are present, and where is the light coming from? Where is your eye drawn? Take a few test snaps to get an idea for how your camera is capturing the scene, then optimize by changing your position or perspective to put the main object at eye- or camera- level. In some cases, this might entail a low-angle shot with your camera phone resting on the ground.
Looking for a point of interest
Either your foreground (in the bottom third of the frame) or your sky should have something visually fascinating in it. Without craggy rocks, otherworldly cloud formations, or something unusual and beautiful in the shot, your landscape might turn out flat and boring. Position the most interesting objects along strong compositional lines, and your landscapes will pop.

Seven tips for luscious landscapes
- Make sure your camera is level with the horizon.
- Check your white balance to ensure accurate color capturing. If your light is switching a lot, set your white balance to auto.
- Try shooting scenes in “the golden hours” of dawn or dusk for more interesting lighting, but don’t shoot when it’s too dark.
- Pick the main object your camera is going to focus on, and make sure it’s correctly focused. In most apps, you can tap on the part of the image that the camera should focus on.
- Experiment with different perspectives. Try lying on the ground or shooting from a tree.
- Don’t shoot directly into the sun. If your landscape features a gorgeous sunrise or sunset, try to position the celestial orb closer to the edges of the frame, up to about a quarter of the frame’s width away from its edge. You’ll get that dramatic lens flare without the colossal blow-out.
- Experiment with different, larger aspect ratios, such as a panoramic shot.
Featuring work by Stephanie C. Roberts, France Freeman, Tanya Nagar, and Ben Harvell, The iPhone Camera Book shows you how to master your iPhone’s camera in order to make the most of the extraordinary tool in your pocket. You’ll find the key techniques that will take your iPhone photos from good to great, with beautiful examples and exercises designed to stretch your talent and inspire you. The second part of the book turns the focus to the iPhone’s other great creative possibility – moviemaking, with plenty of advice and great tips to get you on your way to creating your first masterpiece.
[one_whole boxed=”true”]
 The iPhone Camera Book
£5.99, Download the PDF now!
[button color=”Accent-Color” size=”small” url=”https://www.ilexinstant.com/product/the-iphone-camera-book/” text=”Digital Edition”]
[/one_whole]


