Nailing neon sign photography
The height of fashion in the 1950s and 1960s, neon signs suffered a few decades of decline only to enjoy a resurgence in interest of late. And just as well it is, too, for of all the night-time subjects that are waiting out there for you to discover and photograph them, few are as colourful and interesting as an artful neon sign.
 Classic neon signs are growing harder to find. Indeed this one was destroyed in a winter storm not long after it was photographed. But they make fabulous subjects, so if you do find one, take the to experiment with your composition and shoot from different angles.
Exposure troubles
Exposing for neon is a little bit tricky because you have a very bright subject and, usually, a dark background. The brightness of the neon tubes can fool the camera into under-exposing the scene (particularly if there are other elements in the shot that you want properly exposed) but, on the other hand, including a large area of dark background can fool the meter into over-exposing the sign. The safest way to ensure a good exposure is to bracket, and to check both the LCD and the histogram continuously to be certain that you’re not blowing out the highlights because that is always the biggest danger.
 Bars are often a great source of neon signs, but you might be forced to shoot through glass windows, which can cause a reflection problem.
Once the highlights are over-exposed with neon you lose that rich colour glow and it’s almost impossible to get it back even if you’re shooting in Raw. Instead, bracket anywhere from three to five frames and check your LCD to see which settings are providing the best results. Also, overexposing neon causes a phenomenon called halation where the tubes create an exaggerated glow that softens the sharpness of the neon tubes. Also, you want the exposure to be dark enough to hide any shiny pieces in the sign fixture or hardware that might be reflecting coloured light or revealing distracting details of the structure of the lamp.
Think about the background
Background considerations are particularly important when shooting neon and pure black always works best. If you are photographing a sign in the window of an open business, you must be very careful not to include any distracting interior lights (fluorescent lamps are the worst since they’ll often glow a sickly green) or lighted areas in side the business or they’ll compete with the sign. If possible, wait until the business is closed so that you have a dark background but this can be a bit tricky because many businesses shut down the neon when they close up for the night (if you’re bold enough, you might want to think about asking a small business to leave its sign on for a few minutes so you can shoot it).
 If you can, choose an angle that positions the sign against something black. The contrast of the neon against the black will enhance the saturation.
Also, it’s best to wait until true darkness rather than shooting at twilight so that you’re not fighting exterior reflections in the glass. In summer this is tough because the business may close and shut off their signs before it’s completely dark outside—you might prefer to shoot neon in winter when the days are shorter.
White balance woes
Setting an exact white balance isn’t crucial since you can use editing tools to adjust colours later. Shooting in Raw so that you can adjust the exposure an white balance after the fact is your best course of action. Also, because a different gas is used to produce each different colour of neon, it’s almost impossible to set one correct white balance. Experimenting is the best way to get accurate colours.

Long exposure considerations
Lastly, if you’re using a tripod (and you should when possible), always use the lowest ISO you have available (or the default ISO) so that you can reduce the possibility of digital noise that is caused by using higher ISO speeds. Since very long exposures also encourage noise, you might wish to try to keep the exposure times as brief as possible.
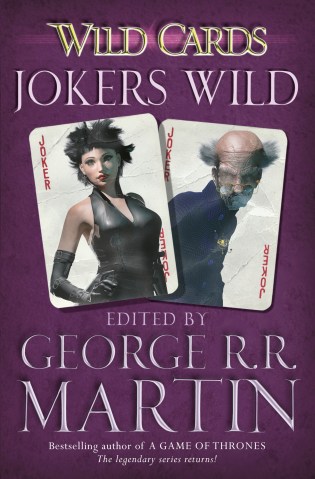
The Photographer’s Master Guide to Color is Jeff Wignall’s thorough course on colour and the role it plays in digital photography, giving you a new understanding of the important role colour plays in the creation of successful photos, and allowing you take outstanding colour photographs with any digital camera.
 The Photographer’s Master Guide to Colour, by Jeff Wignall
£9.99 Download the PDF now!
£17.99 for the digital and print version!


