Creating colourful close-ups

Close-up photos are a surprisingly rich source of interesting colours and colour combinations and much of the colour found in the macro world comes as a complete surprise when we capture it in photographs because so few of us take the time to go looking for it.

Other than young kids, not many of us take the time to pause and examine insects, for instance, yet they possess some of the most beautiful and complex colour combinations in nature. And the beauty of many common objects is often completely lost in the chaos that makes up our visual world. It’s not until we slow down and isolate small subjects, whether natural or man-made, that we begin to see their true beauty.
Perhaps the toughest part of capturing and exploiting the colour found in small subjects is just getting close enough so that the intended subject dominates the frame. There isn’t room to go into detail here, but there are a number of ways to accomplish this and macro lenses, close-up extension tube and bellows (for extreme close-up work, larger than life-size or 1:1) area all good options.
Whatever tool you choose, just remember that it’s important to check the LCD after you’ve shot to be sure your subject is filling the frame. Often we get so focused on small subjects that they seem to grow in our mind’s eye and then when we see the finished photo they appear much smaller than we remember.
Top tips for close-ups
If you want to enhance the colours in your close-up photos, it pays to give some thought to the following.
Background
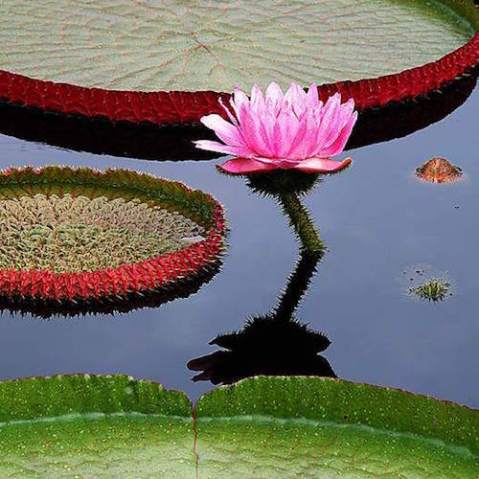
Using a black background with close-up subjects has a lot of significant benefits and the most obvious is that colour saturation tends to grow exponentially when they contrasted with a black setting. There are a number of ways to get a rich black background and the simplest is just to try and find a naturally occurring shadow that you can position behind your subject. That’s exactly the trick used to photograph both the orchids and the butterfly in this article.

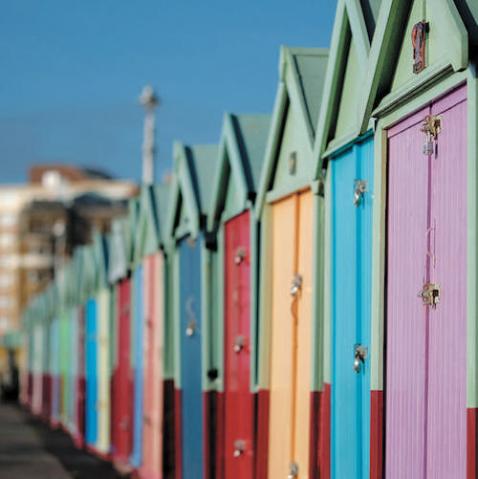
In situations where the subject itself is more neutral in tone you can still make a colourful image by contrasting it against a brightly coloured background. Legendary automotive photographer Jill Reger is a master of this technique and often uses the bright colours of one antique car as a bright backdrop for close-ups of another car’s details. Try working with a relatively long lens and restricting depth of field as this helps to create a distinct separation between subject and background.
Depth of field
If you can’t find a black background another option to subduing a busy background is just to toss it out of focus using either a wide aperture or a long-focal-length lens, or both. Longer focal lengths have inherently shallow depth of field, therefore it’s easier to knock the background down with a longer lens (the longer lens will also allow you to work farther from the subject because the close-focusing distance is longer).

Dramatic lighting
Photographing close-up subjects in flat light is unquestionably simpler than using more directional lighting because there are fewer contrast and dynamic-range issues to deal with. But dull light produces dull photos. Look for close-up subjects that have some inherent drama; they almost always present a more realistic vision. Lighting that comes from the side or behind the subject can be particularly dramatic with subjects like flowers or insects that are partially translucent—the wings of a dragonfly, for example—because they will make the translucent areas seem to glow.

The Photographer’s Master Guide to Color is Jeff Wignall’s thorough course on colour and the role it plays in digital photography, giving you a new understanding of the important role colour plays in the creation of successful photos, and allowing you take outstanding colour photographs with any digital camera.
 The Photographer’s Master Guide to Colour
Jeff Wignall
Buy now!


